
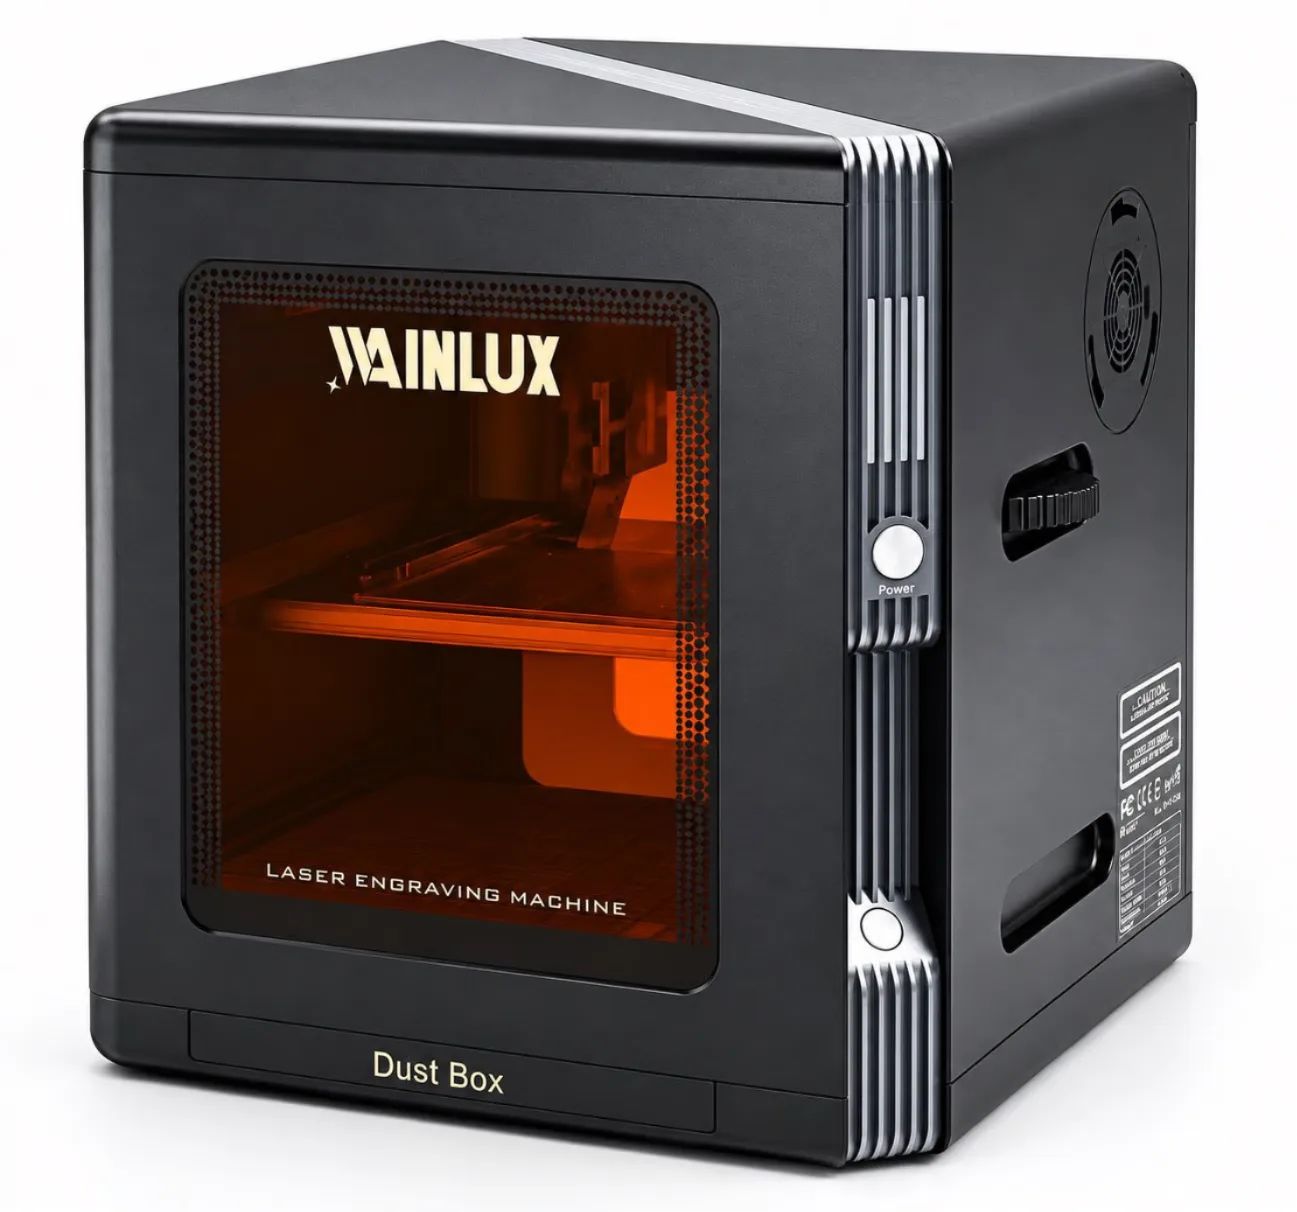
A buyer's capability map for compact metal marking: which jobs a mini laser engraving machine for metal handles, which jobs fail, and why wavelength decides more than size.
Buyer Capability Guide
A mini laser engraving machine for metal is a real category, but it is not one machine. Some units mark bare steel directly. Others only work on coated or anodised surfaces. The gap between those two outcomes is set by the laser wavelength, not by how small or how cheap the machine is. This guide maps the metal jobs a compact machine can do, the jobs it fails, and the trade-offs you accept when you choose a mini format.
Start with the job, not the machine size
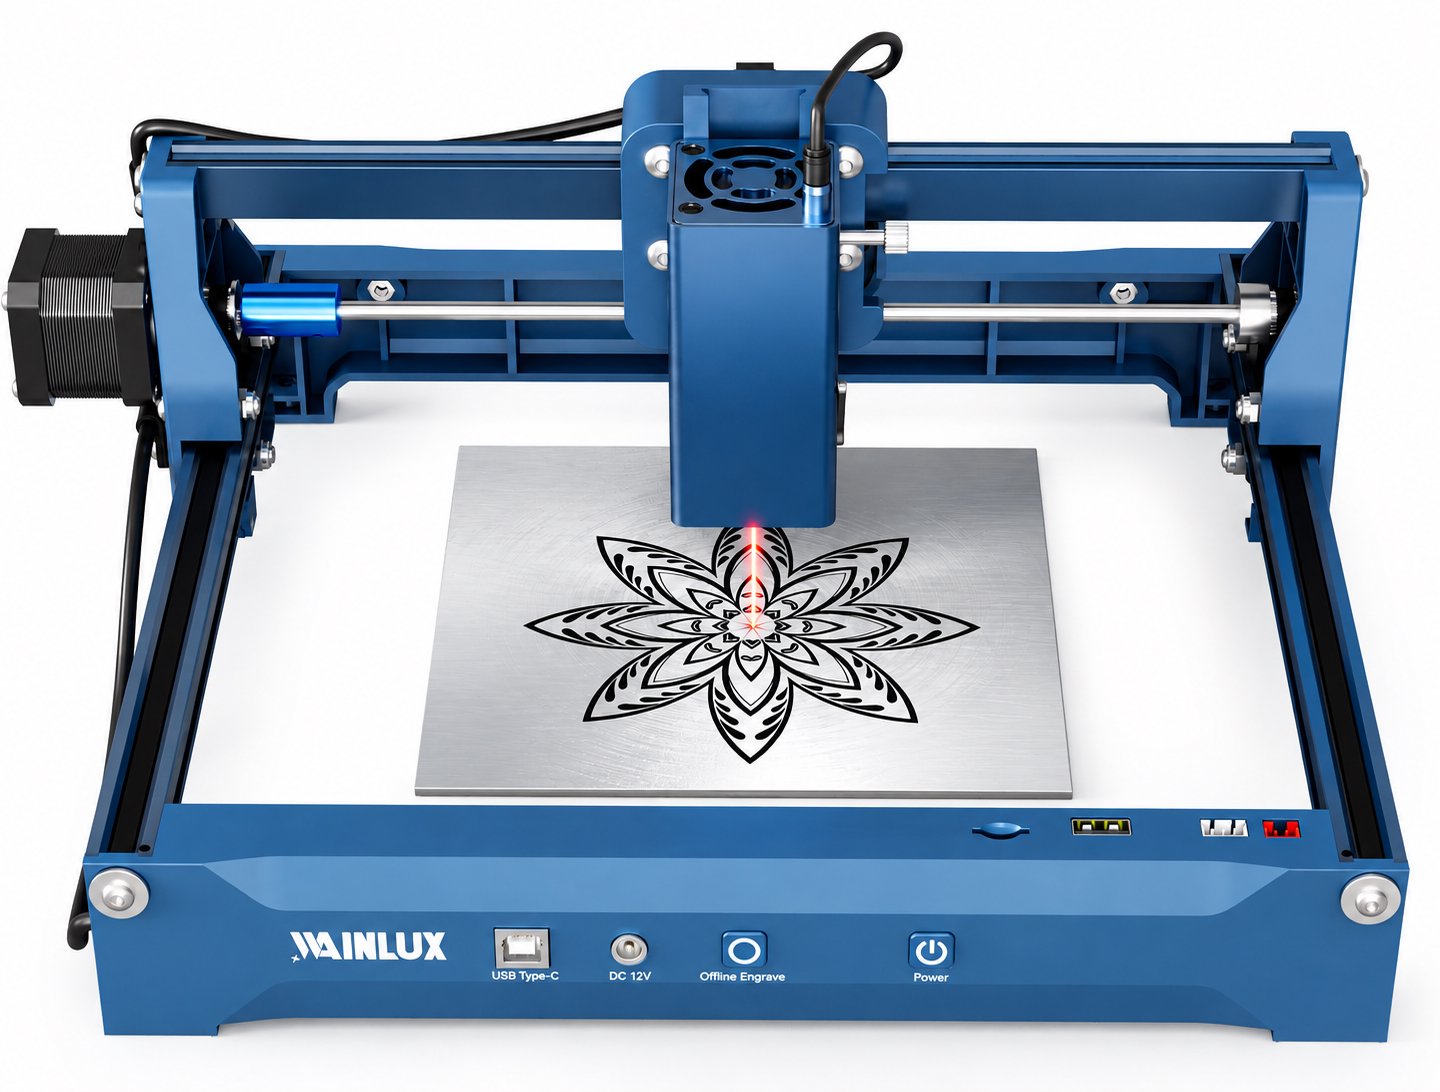
Buyers searching for a mini metal engraving machine usually have one of two jobs in mind. The first is identification: serial numbers, logos, QR codes, or asset tags on small metal parts. The second is deep, permanent engraving into raw steel, stainless, or aluminium surfaces. These are not the same job, and a single compact unit rarely covers both at a meaningful depth.
The honest test is simple. Hold the metal sample in your hand and ask what the mark has to survive. If it only needs to resist handling and stay legible through normal use, a compact machine is often enough. If it must cut into bare metal by tenths of a millimetre, you are asking for depth, and depth is a function of laser power and wavelength together.
Why wavelength decides more than size
Laser marking works because the beam couples with the material. Bare metal reflects visible light heavily, which is why a 455nm diode head struggles to mark raw steel cleanly. A 1064nm laser couples far better with bare metal, so a modest-power 1064nm head can mark steel directly, while a higher-power 455nm head still cannot.
That is the counter-intuitive part for buyers. A 3W machine on the wrong wavelength is not a weaker version of a metal marker; it is a different tool. A 5W or 10W 455nm head is built for coated, anodised, painted, or plastic surfaces. The wavelength decides whether the beam interacts with metal at all.
| Metal job | Machine class that fits | Practical notes |
|---|---|---|
| Marking anodised aluminium tags | 455nm diode, e.g. XN001-3W | Works on the coated/anodised layer; small 9.8 x 8.8 cm bed suits tags and small plates |
| Marking painted or lacquered metal | 455nm diode | Removes or changes the coating; does not reach the bare substrate |
| Direct marking of bare steel and stainless | 1064nm, e.g. K8-1064nm | Marks bare metal over an 8 x 8 cm area with 0.01 mm positioning precision |
| Deep engraving into bare steel | Not a mini machine job | Compact 1064nm units deliver 0.1-1 mm engraving depth; deeper cuts need a larger format |
| Mixed coated and bare-metal marking | Dual-laser units, e.g. X1-20W or F1-10W+1064nm | Two heads cover both surfaces; X1-20W reaches 30 x 30 cm, F1 pairs heads in a 10 x 10 cm area |
What a mini machine does well
Coated and anodised marking
Coated metal is the natural territory of 455nm machines. A unit such as the XN001-3W has a 9.8 x 8.8 cm working area and is suited to marking coated metal surfaces, including anodised tags, painted enclosures, and labelled parts. The mark sits in or through the coating, so contrast is usually high and readable.
If your parts are coated, a small diode machine gives you compact size, low weight, and predictable results. The limit is the coating itself: remove the coating and you are back to bare metal, which this class of machine cannot mark directly.
Bare-metal marking with a 1064nm head
A 1064nm compact machine is the one that genuinely marks bare metal. The K8-1064nm uses a 1064nm laser that marks bare metal, works over 8 x 8 cm with 0.01 mm positioning precision, and reaches 0.1-1 mm engraving depth. Speed goes up to 2000 mm/s, and control runs through Windows without professional software. Connectivity covers USB, WiFi, and Bluetooth, and the unit weighs 4.4 kg.
That combination covers part marking, serialisation, tool tags, and small identification plates on steel and stainless. The 8 x 8 cm bed is the constraint: it handles small parts, not full panels.
Tag and part identification
Identification is the sweet spot for the mini format. Metal tags, nameplates, valve markers, and small machined parts fit inside an 8 x 8 cm area without repositioning. With 0.01 mm positioning precision, repeated marks stay consistent across a batch, which is what most identification work actually needs.
What fails, and why
Deep engraving into bare steel is the job that most often disappoints buyers. A compact 1064nm unit reaches 0.1-1 mm engraving depth. If your specification calls for a 1.5 mm cut into solid steel, a mini machine will not deliver it, regardless of brand. That depth range also varies with material and settings, so treat 1 mm as the practical ceiling rather than a guarantee.
The second failure is wavelength mismatch. Buying a 3W or 5W 455nm machine and expecting bare-metal marking leads to wasted attempts and damaged samples. The beam simply does not couple with raw steel the way a 1064nm laser does.
The third failure is bed size. Metal parts larger than the working area cannot be marked in one pass. You either reposition and risk misalignment, or you move up to a larger format.
A quick way to separate the two classes: if the surface has a coating you can see, a 455nm machine may mark it. If you can see bare metal, you need 1064nm.
Mini-format trade-offs to accept
Choosing a compact machine means accepting limits that no supplier can remove.
- Small bed. Common working areas are 8 x 8 cm, 9.8 x 8.8 cm, or 10 x 10 cm. Larger panels need a bigger machine, such as the 30 x 30 cm area of the X1-20W dual-laser unit.
- Fewer fixtures. Compact machines usually ship with simpler workholding. Rotating axes, custom jigs, and automatic loading are generally not part of the mini format.
- Depth ceiling. The 0.1-1 mm range is the reality of compact 1064nm marking. Deep industrial engraving belongs to larger systems.
- Single-wavelength limits. If you need both coated and bare-metal marking, a dual-laser machine covers both heads in one frame. The F1-10W+1064nm pairs a 455nm 10W head with a 1064nm head in a 10 x 10 cm area.
How to test before you buy
Send real samples, not photos. A sample test is the only reliable way to confirm that a machine marks your metal the way your customer expects.
- Prepare three to five pieces of the exact metal you will mark, including any coating or finish. Note the alloy and surface condition.
- Specify the mark you need: text height, logo, QR code, or depth in millimetres. State whether the mark must survive abrasion or cleaning.
- Ask the supplier to return the marked samples with the settings used, so you can compare depth and contrast.
- Check the mark under the lighting your end user will use. Contrast that looks strong in the lab can disappear on a finished product.
- Confirm the working area covers your largest part without repositioning. If it does not, decide whether repositioning is acceptable.
WAINLUX has manufactured laser equipment since 1998, with more than 25 years of production experience, an ISO9001 company-level certificate, and OEM/ODM support for buyers who need custom configuration. The company exports to more than 50 countries.
Choosing between single and dual laser
If every part you mark is bare metal, a single 1064nm machine is the cleaner choice. If your production mixes coated and bare-metal parts, a dual-laser unit avoids changing machines mid-run. The X1-20W covers a 30 x 30 cm area with both 455nm and 1064nm heads, while the F1-10W+1064nm keeps a smaller 10 x 10 cm footprint with the same dual-head logic.
Match the wavelength to the surface first, then size the bed to your largest part, then check the depth requirement against the 0.1-1 mm compact range. That order prevents the most common purchasing mistake: buying on price or wattage before confirming the laser can interact with the metal at all.
Send a metal sample for a marking test
Tell us your metal type, the mark you need, and your largest part size. We will confirm which compact machine fits the job and which jobs need a larger format.