

A buyer-focused guide to keeping a logo mark identical across a batch: vector file cleanup, fixture repeatability, per-material presets, wavelength match, and a step-by-step logo-to-batch workflow. Includes a surface-to-machine mapping table and practical machine notes.
A laser branding machine is only as good as the fifth or five hundredth mark it produces. Buyers who brand logos onto products or packaging are rarely buying a one-off engraving — they are buying a repeatable process. The first mark is the easy part. Keeping that mark identical across a full batch is where file preparation, fixture design, parameter presets, and wavelength selection decide whether your brand looks consistent or merely close enough.
What actually keeps a logo consistent
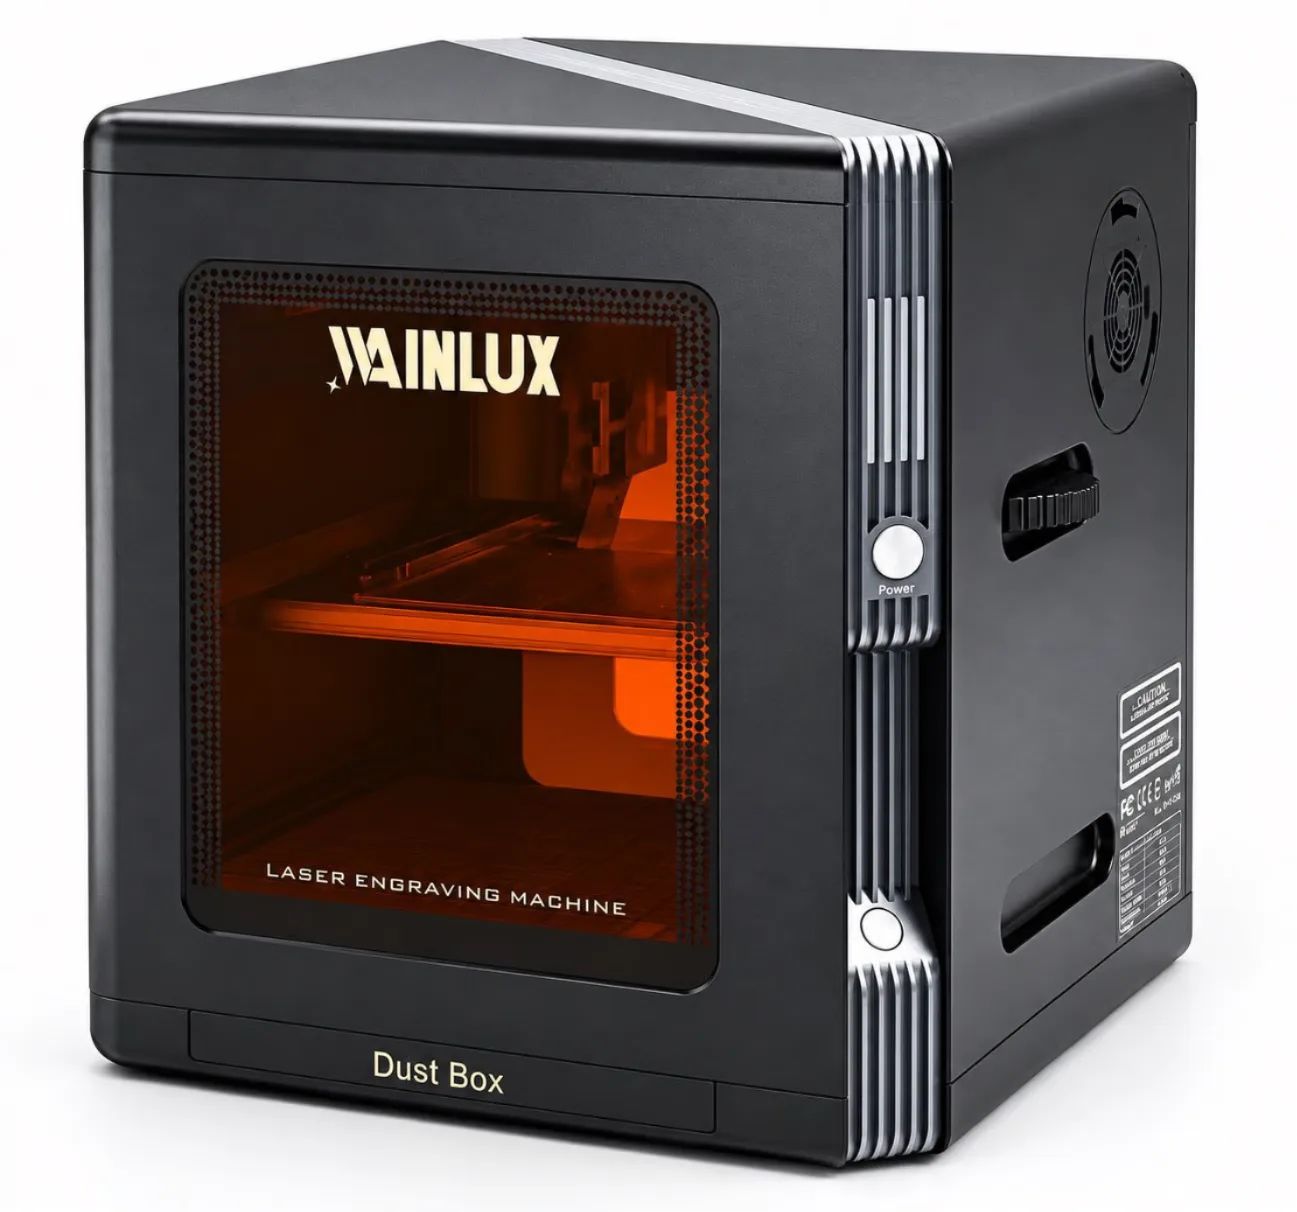
- A clean vector logo file, not a raster image, so every instance carries the same geometry.
- A repeatable fixture that positions each part the same way for every cycle.
- Fixed power and speed presets stored per material and surface.
- A laser wavelength matched to the product surface, not just the product category.
Treat the logo as an asset, not an image
A generic engraving guide tells you which settings to start with. A branding job asks a different question: will instance one hundred look the same as instance one? That difference shifts the work upstream, before the laser fires. The logo is a controlled asset that has to reproduce identically, so the file and the surrounding process matter as much as the machine wattage.
Two problems cause most visual drift between marks. The first is an inconsistent source file — a low-resolution raster logo that the laser interprets slightly differently depending on scaling. The second is part placement: if each workpiece sits in a different position or angle, the mark lands in a different spot and the eye reads the whole row as uneven.
Step 1: Prepare the logo file for repeatability
Start with vector artwork. Curves and paths scale cleanly, so a logo sized for a 30 x 30 cm layout and the same logo sized for a small component both keep their proportions. Convert text to outlines, remove stray nodes, and close open paths. Decide the minimum stroke width the mark can carry; very thin strokes can lose legibility when the mark is small.
Once the file is clean, define one master placement — size, margins, and orientation — and reuse it for every batch. Do not re-scale the logo per part by eye. If the mark must fit different product sizes, build separate approved templates rather than adjusting each time.
Step 2: Build a fixture that repeats the position
Positioning precision on a capable machine is measured in small increments; the example K8-1064nm lists 0.01 mm positioning precision and an 8 x 8 cm working area. But precision in the machine does not guarantee precision in the setup. A part that shifts two millimetres between cycles will produce a visibly drifting logo no matter how accurate the head is.
For flat items, use a fixed border or corner stop so the operator loads each piece the same way. For cylindrical items, a rotary roller holds the part and lets it rotate consistently under the beam, which is relevant for tumblers, pens, and similar round profiles. The fixture is what converts machine accuracy into batch consistency.
Tip: Photograph the approved first mark next to the part and keep it at the workstation. Operators compare each batch against a physical reference, not against memory. A visual standard catches drift before the whole run is finished.
Step 3: Lock power and speed presets per material
The same logo on two different materials needs two different parameter sets. Record a preset for each surface you actually brand — power, speed, and passes — and store it under a clear name so the operator does not re-tune by trial. On the K8-1064nm, marking depth is listed from 0.1 to 1 mm and speed up to 2000 mm/s, so the useful part of the setup is finding the depth that reads clearly on that surface and holding it.
Changing the material without changing the preset is a common source of batch inconsistency: an anodized aluminium tag and a bare steel plate may look similar in the file but require different energy to produce the same visual weight. Treat every preset as part of the logo asset, not as an operator preference.
Step 4: Match the wavelength to the surface
Wavelength is the decision that most often gets skipped. A laser marks some surfaces well and others poorly, and the difference is the material response to that wavelength, not the logo file.
A 1064nm laser is used for bare metal, which is why machines like the K8-1064nm suit metal tags, tools, and similar parts. A 455nm laser works on a different set of surfaces, and dual-laser units combine both: the WAINLUX X1-20W covers a 30 x 30 cm area with both a 455nm head and a 1064nm head, so one machine can handle mixed-material branding within the same workspace.
Match the head to the surface, then keep using that head for that product. Switching wavelength mid-batch changes mark appearance even when the settings look unchanged.
Mapping brandable surfaces to machine classes
The table below groups common branding surfaces by the wavelength that fits them, using available machine examples as reference points. It is a starting frame for matching a surface to a head, not a substitute for testing your actual part.
| Surface | Fitting wavelength | Example machine | Notes for branding |
|---|---|---|---|
| Bare metal (tags, tools, steel parts) | 1064nm | K8-1064nm; X1-20W 1064nm head | 8 x 8 cm area on K8; depth 0.1-1 mm; up to 2000 mm/s |
| Coated metal (painted or coated surfaces) | 455nm | K10-5W; XN001-3W | XN001-3W marks coated metal only, 9.8 x 8.8 cm area |
| Mixed materials in one batch | Both 455nm and 1064nm | X1-20W dual-laser | 30 x 30 cm area, two heads in one workspace |
| Round or cylindrical items | Matches the surface above | K8 with optional rotary roller | Roller holds the part for consistent rotation |
The logo-to-batch workflow
The following sequence turns a logo file into a controlled, repeatable batch. Each step produces something the next step depends on, so the order matters.
- Convert and clean the logo file. Produce a vector version, convert text to outlines, close paths, and set a minimum stroke width. Approve one master version.
- Select the wavelength for the surface. Confirm whether the part is bare metal, coated metal, or another surface, and choose the matching head. Do not proceed on assumption — test a sample blank first.
- Build the fixture and set one position. Create a stop, jig, or rotary setup that places the part identically each cycle. Record the position in a photo or drawing.
- Develop and lock the preset. Test the logo on a sample blank at a chosen power, speed, and pass count. Adjust until the mark reads clearly, then save it under a material-specific name.
- Approve a physical reference mark. Keep the first approved part at the workstation as the visual standard for the run.
- Run the batch and spot-check. Compare marks during the run against the reference, not only at the end. Catch drift early.
- Record and reuse. Store the file, fixture position, and preset together as one job so the next order starts from the same approved state.
Software and control in practice
Consistency also depends on how the file reaches the machine. Control software that accepts the logo file directly and runs without professional design software keeps the workflow inside the branding process rather than adding a translation step that can alter geometry. The K8-1064nm runs on Windows control without professional software and offers USB, WiFi, and Bluetooth connectivity; the X1-20W adds WiFi, USB-C, and TF offline operation. For a production bench, the practical requirement is that the operator can load the approved file, select the saved preset, and press start without re-editing artwork.
Sampling matters here too. Machines that ship with sample blanks let you validate the wavelength and preset against the real surface before a batch order is scheduled. Use those blanks to build the reference mark described above.
What to confirm with a supplier before ordering
The machine choice should follow the part, not the other way around. Before requesting a quote, gather the surface material, the largest and smallest part dimensions, whether parts are flat or cylindrical, and how many marks per batch. Ask the supplier to confirm which head matches your surface and whether a fitting fixture or roller is available for your part profile.
WAINLUX has manufactured laser equipment since 1998 — 25+ years of production experience — holds an ISO9001 company-level certificate, offers OEM/ODM support, and exports to 50+ countries. Those facts describe the manufacturer; the specific configuration for your logo still has to be matched to your material and part.
If you are branding a logo across a recurring batch and want a machine recommendation based on your surface and part size, send us your part details and logo requirements for a configuration review.