
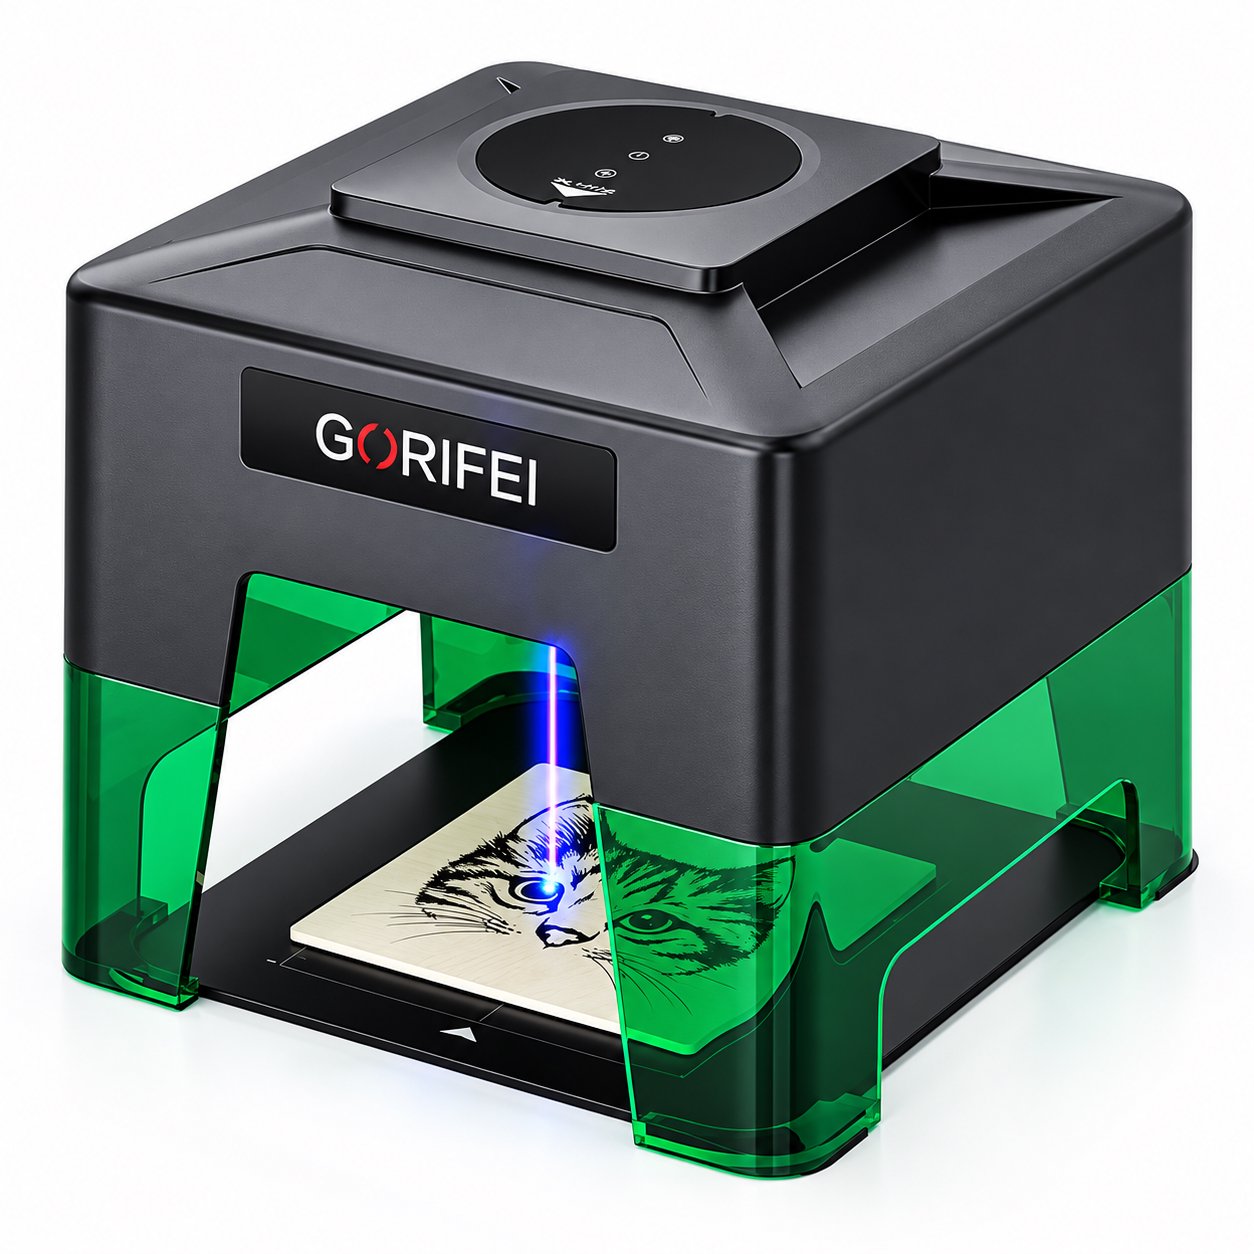
A 30-day operating plan for first-time laser cutter owners: unboxing checks, first materials to try and avoid, test grids, focus and fixture habits, ventilation, and the early mistakes that damage lenses and beds.
Operations Guide
The first month with a laser cutter decides how the next few years go. Lenses that cloud early, honeycomb beds scored by stray beams, and a folder full of failed test cuts almost always trace back to habits formed in the first thirty days. This plan is for owners who have just taken delivery of a machine and want to start cutting safely and correctly, with no prior training and no guesswork.
What the first 30 days are actually for

You are not trying to master laser engraving in a month. You are building four habits that keep the machine accurate and the operator safe: verify before you power up, test before you commit, focus and fix the workpiece every single time, and move air out of the room before you make smoke. Everything else on this page is a way to practice those four things on real material.
Key takeaways
- Day 1-3 belongs to unboxing checks and a safe workspace, not to cutting.
- Test grids come before projects. They teach you speed, power, and passes on your own machine.
- Focus and fixturing prevent more damage than any setting ever will.
- Ventilation is a placement decision made before the first job, not an accessory added later.
- Most early lens and bed damage comes from contamination, forced motion, and unattended cutting, not from the machine itself.
Days 1-3: unboxing and workspace checks
Before the first cut, confirm what survived shipping and what the machine needs around it.
- Inspect the crate and enclosure. Look for dents, cracked panels, or a tinted shield that is scratched or loose. Note anything that looks stressed in transit.
- Check every connector and cable. Confirm the power supply, the USB or network connection, and any limit-switch or sensor wiring are seated. Do not force a connector that does not fit.
- Confirm the optics are clean and seated. A fingerprint on a lens is easier to remove on day one than a burn mark on day twenty.
- Clear the motion path. Move the head by hand only the way the manual allows. If a belt feels tight or an axis grinds, stop and contact the supplier before running a job.
- Set up the workspace. A stable, level surface, a smoke path to a window or filter, a fire-resistant base under the machine, and a rated extinguisher within reach.
- Mount the machine where people are not staring into the beam path. If the model has a fully enclosed frame and a tinted shield, keep the shield closed during operation. If it is an open-frame unit, plan eye protection and a clear no-entry zone around it.
Machines differ enough that the first two days should stay model-specific. A compact, foldable unit such as the XN001-3W gives you a 9.8 x 8.8 cm working area and runs from USB, a Bluetooth app, or an offline button, so a first check on a small machine is about confirming the app connection and the button start, not about large-format alignment. A fully enclosed model such as the K10-5W, with its tinted shield and 455nm 5W blue diode, adds enclosure and WiFi or PC control checks to the same list.
Days 4-10: materials to try first and materials to avoid
The fastest way to damage a lens or a bed is to cut the wrong material in week one. Laser-safe materials behave predictably. Everything else either produces corrosive fumes, melts into hard deposits, or catches fire.
| Try first | What to expect | Avoid first | Why it is risky for a beginner |
|---|---|---|---|
| Thin plywood, 3-5 mm | Clean cut lines with tuned passes; a good baseline for any 5W-class diode | PVC, vinyl, and imitation leather | Releases chlorine-based fumes that corrode optics and are unsafe to breathe |
| Cardboard and paper | Fast, cheap practice for focus, speed, and pass count | Polycarbonate and ABS | Melts, discolors, and can produce fumes you should not inhale |
| Untreated basswood or balsa | Even density, few surprises | MDF and glued composites | Dense binder content leaves sticky residue on the lens over time |
| Anodized or coated metal blanks for light marking on a suitable head | Low-power marking on prepared surfaces | Bare reflective metals on a diode without the right setup | Reflections can scatter the beam and score the machine interior |
If you have the 1064nm head option on a model such as the F1-10W+1064nm, treat metal marking as a separate learning track from cutting plywood. Do not assume the settings or the fume profile transfer between heads.
Days 11-17: build a test-grid habit
A test grid is a small sheet of the actual material with the same design repeated at several speed and power combinations. Cut one before every new material, thickness, or supplier batch. It costs a few minutes and prevents scrapping a finished job.
- Label each cell. Write the speed and power in the design so the sheet explains itself later.
- Start conservative. Run a low-power, high-speed grid first. Increase in controlled steps rather than jumping to the top of the range.
- Count passes, not just power. Multiple light passes usually leave cleaner edges than one aggressive pass on thin wood.
- Record the result. Tape the grid to a logbook with the date, material, and thickness. In week three this becomes faster than trial and error.
Positioning precision matters here. A machine that holds 0.01 mm positioning lets you reproduce your best grid cell accurately on later jobs, which is why test cuts on the same machine stay useful.
Days 18-24: focus, fixture, and airflow
Focus and fixturing are the two habits that quietly prevent most beginner damage.
Focus
Set focus for the material thickness every time you change stock. A beam focused on the wrong plane scatters, produces char instead of a cut, and needs more passes, which is exactly how lenses get dirty and beds get scored. Check the focus gap with the tool or gauge the machine provides, not by eye.
Fixture
Any movement during a cut ruins the job and can drag the head into the workpiece. Use the honeycomb bed, hold-down clips, masking tape, or a simple jig for small parts. For a compact machine with a 9.8 x 8.8 cm or 8 x 8 cm working area, a jig cut on the machine itself is the most reliable fixture you can make.
Ventilation
Decide the smoke path before the first job. Route an exhaust to a window or a filter, keep the room ventilated, and never cut in a sealed space. Odor is not a reliable warning; some fumes are irritating long before the smell is obvious.
Safety note: never leave a laser cutter running unattended, not even for a short cut. Keep a rated fire extinguisher within reach, keep the work area free of loose paper and solvent, and close the tinted shield or enclosure during operation. If you smell burning that is not the workpiece, pause the job and check the machine before continuing.
Days 25-30: stop the mistakes that ruin lenses and beds early
- Cutting coated or unknown material. If you cannot identify the plastic or coating, do not cut it. Chlorine and some binder fumes attack optical coatings.
- Touching the lens with bare fingers. Skin oils bake on and cloud the optic. Handle with the tool or a clean glove.
- Running at maximum power for every job. It shortens consumable life and increases char. Test grids exist to avoid this.
- Forcing an axis by hand. Moving the head against the drive can skip steps or stress the belt.
- Cutting on a dirty bed. Residue builds up, lifts the workpiece, and changes focus. Clean the bed at the end of each session.
- Using the wrong interface setting and walking away. Offline button runs and network jobs both need the same supervision.
- Skipping the post-job check. Look at the lens, the bed, and the smoke path after every session. Two minutes here saves a replacement part later.
Frequently asked questions
How soon can a beginner cut plywood?
Most people can run a first successful plywood test in the first week, provided they start with 3-5 mm stock and build a test grid before cutting a final shape. Thicker material needs more passes and more patience.
Do I need a fully enclosed machine to start?
An enclosure with a tinted shield makes supervision easier and keeps the beam path contained, which is why models like the K10-5W are a common first choice. Open-frame machines can be used, but eye protection and a strict no-entry zone are then your responsibility.
Can I run a small laser cutter from a power bank?
Some compact models, including the XN001-3W, can be powered from a power bank. That suits light marking and small jobs, not long cutting sessions.
What should I log in the first month?
Material, thickness, speed, power, number of passes, focus setting, and the result. After thirty days this log replaces guesswork with settings that already worked on your machine.
What to do next
If you are choosing your first machine and want the operation-first view of which model fits your workspace, look at the enclosed K10-5W for supervised cutting and the compact XN001-3W for small, portable jobs. Tell us the material, thickness, and working area you have in mind, and we will confirm which head and setup suits the work you plan to run in your first month.