
Wood is unforgiving: a laser etcher can post impressive wattage and still leave scorched edges or flat, muddy contrast. This buyer-focused guide explains what actually controls surface quality — wavelength, power head, focus, and surface prep — with a wood-surface look-up table and a test-grid method you can run on samples before you commit to a machine.
Wood Surface Evaluation
Two laser etchers for wood can carry nearly identical wattage ratings and deliver completely different surfaces. On wood, the deliverable your customer inspects is contrast, texture, and edge cleanliness — not the number on the head. This guide explains what actually produces those three things, and how to test them on real samples before you buy.
Key Takeaways

- Wattage drives depth and speed; wavelength, focus, power head, and surface prep drive how the wood surface looks.
- Contrast comes mostly from wavelength choice and focus, not from dialing the power up.
- Wood species and finish change the result more than most buyers expect — always test the exact stock you will produce on.
- A simple test grid on your own samples tells you more in thirty minutes than a spec sheet does in an hour.
Why Surface Quality Is the Real Spec on Wood
Buyers comparing a laser etcher for wood usually start with wattage, because wattage is easy to compare. On wood, that is the wrong first question. Depth and cutting speed scale with power, but contrast, grain behavior, and edge definition respond to a different set of variables. A 20W head does not automatically produce a better walnut plaque than a 5W head; it may simply cut deeper and faster while leaving the same muddy burn.
The practical consequence is that a machine can win on paper and lose on your product. If your job is engraved logos, signage, gift items, or decorative panels, the buyer on the other end never sees your spec sheet — they see the surface. That is why surface evaluation belongs before the purchase decision, not after installation.
What Actually Produces Contrast, Texture, and Clean Edges
Wavelength Is the Biggest Lever on Contrast
Different materials absorb different wavelengths at different rates. Wood is a carbon-rich, water-bearing material, and how strongly it absorbs a given beam determines whether energy converts into a dark, defined mark or scatters into a pale, fuzzy one. A 455nm head and a 1064nm head behave differently on the same board, and the difference often shows up as contrast before it shows up as speed.
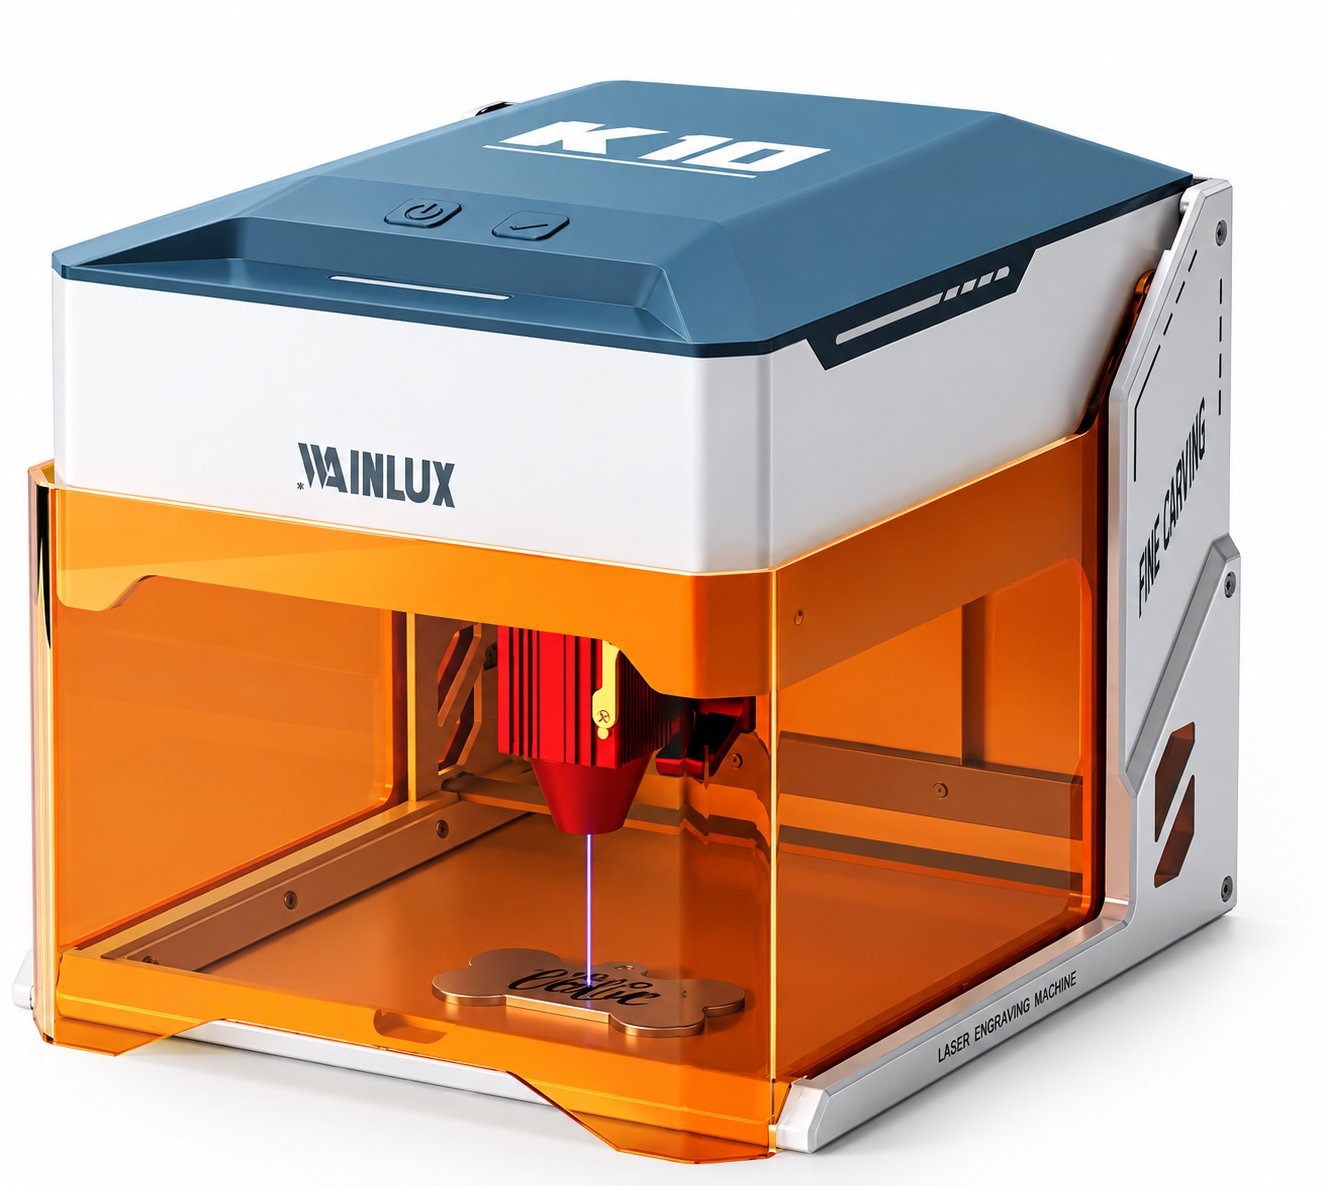
If your product range is wood-only, a single-wavelength machine can be entirely adequate. If the same shop also processes coated or painted surfaces, a dual-head configuration keeps both options in one frame. The WAINLUX F1-10W+1064nm pairs a 455nm 10W head with a 1064nm head inside a 10 x 10 cm working area, and the X1-20W dual-laser covers 30 x 30 cm with the same two wavelengths. For a shop whose core work is wood engraving with occasional non-wood jobs, a smaller wood-focused unit may be the better fit — see the WAINLUX K10-5W, a fully enclosed 455nm 5W machine with a tinted shield, WiFi, PC, and offline operating modes.
Power Head Sets the Working Window, Not the Look
Power head choice defines what jobs are feasible: how quickly a fill area can be covered, and how deep a single pass can go. A 10W head opens up faster fill and deeper engraving than a 5W head, and a 20W head widens that window further. None of those steps guarantees a prettier surface. In fact, on light woods, more power with the wrong settings frequently means a wider scorch halo and weaker definition — the opposite of what most buyers want.
Treat the power head as capacity planning. Ask: what board thickness and fill area do my orders require, and at what acceptable cycle time? Then evaluate the surface separately, because the two answers can come from the same machine only if the settings and optics are right.
Focus Determines Edge Cleanliness
Focus is where clean edges are won or lost. Defocus slightly and you get a softer, wider line; hold sharp focus and you get a crisp boundary with minimal bleed into the surrounding grain. On fine text, small logos, or thin outlines, a small focus error shows up immediately as blurred or doubled edges.
Focus also interacts with surface flatness. Wood is rarely perfectly flat, especially planks and live-edge pieces, so the effective focal distance varies across the board. Machines and workflows that manage positioning tightly reduce that variation. For context, the K8-1064nm model is specified with 0.01 mm positioning precision — a useful indicator of the class of motion control available when consistent edge placement matters across a batch.
Surface Prep Changes Everything Before the Beam Arrives
The beam interacts with whatever is on the surface, not with abstract "wood." Oil, varnish, wax, dust, and moisture all sit between the optics and the fiber. A sealed or oiled board etches differently from raw sanded stock, sometimes dramatically. Sanding direction, grit, and how recently the surface was cleaned all influence visible results.
Two boards cut from the same species can still etch differently if their moisture content or finish differs. This is the single most common reason two buyers with identical machines report different surface results.
Wood Surfaces and Expected Results
The table below maps common wood conditions to what generally produces a cleaner or weaker surface. Use it to set expectations for your own test samples; final results always depend on the specific stock and settings.
| Wood surface | Typical contrast | Edge cleanliness | What to watch for |
|---|---|---|---|
| Raw softwood, sanded | Moderate to high; darkens readily | Good with sharp focus | Resin pockets and uneven grain can create patchy tone |
| Raw hardwood, sanded | High and even on tight grain | Very good on close-grained species | Open pores may hold residual dust that lightens the mark |
| Oiled or waxed wood | Lower; finish can reflect or absorb energy | Good, but edges soften | Test the exact finish and cure time used in production |
| Varnished or lacquered wood | Variable; coating may etch before wood does | Depends on coating thickness | Thick coatings can flake at the mark boundary |
| Plywood (3-5 mm) | Moderate; glue layers affect tone | Good on face veneer | Veneer thickness varies; light passes may reach adhesive |
| MDF or engineered board | Low to moderate; tends to hold a flat tone | Good | Binder content darkens the mark and reduces detail |
How to Evaluate a Machine with a Test Grid
Spec sheets cannot tell you how a beam will behave on your inventory. A test grid can. Prepare a batch of offcuts that represent your actual production materials, then run a controlled comparison. Because a test grid changes only one variable at a time, you can attribute a surface difference to a cause rather than guessing.
- Collect representative samples. Cut several pieces from each species and finish you actually sell. Include one oiled or coated piece, one raw piece, and, if relevant, a 3-5 mm plywood offcut. Label every piece on the back.
- Prepare the surface consistently. Sand each raw sample with the same grit and direction, then remove dust the same way. If you seal or oil in production, replicate that step and its cure time so the test reflects reality.
- Build a grid on one sample. Divide the surface into rows for power levels and columns for speed or focus offsets, and etch a fixed test pattern — a short line, a small filled square, and small text — in each cell. Keep the pattern identical across cells.
- Change one variable at a time. Run the power series first with speed and focus fixed, then repeat with a second series. Changing two variables at once makes the grid impossible to read.
- Judge under the same light every time. Inspect each cell under consistent lighting, at the same angle, including raking light for texture and straight-on light for contrast. Photograph the grid with a fixed setup so you can compare runs later.
- Score three properties separately. Rate contrast, edge crispness on small text, and texture uniformity on a simple scale. A cell can score well on contrast and poorly on edges — that distinction is exactly what you need before purchase.
- Repeat on every species and finish. Run the grid across your full material list. The settings that win on raw maple will not necessarily win on an oiled oak board.
- Verify repeatability. Re-run the winning settings on fresh samples of the same material and check that the result holds. Consistent output across a batch is what protects your product quality after the machine arrives.
Tip: Keep the winning grid and its photo with the machine, not in a drawer. When a new batch of wood arrives with different moisture or finish, you have a documented baseline to compare against instead of starting over.
Questions to Ask a Supplier Before You Buy
When you shortlist a laser etcher for wood, ask the supplier to confirm a few practical points rather than only headline numbers. What is the working area, and does it fit your largest standard job? Which wavelength(s) does the machine offer, and what materials are they intended for? What are the enclosure and shielding details relevant to daily operation? Are sample etching tests possible on materials you supply? How is focus set and verified?
On the manufacturing side, WAINLUX has been producing laser equipment since 1998, holds an ISO9001 company-level certificate, and works with OEM and ODM projects across more than 50 export countries. Those facts describe the supplier, not the surface result — the surface still has to be proven on your wood.
Where the Spec Sheet Still Helps
None of the above makes specifications irrelevant. Working area tells you which jobs fit. Wavelength options tell you which materials are addressable. Cutting capability such as 3-5 mm plywood tells you whether a wood-focused machine can handle a mixed order. Enclosure and shielding details tell you how the machine fits a workspace. The point is sequencing: use specifications to narrow the field, then use surface tests to choose.
That order matters because surface quality is the part of the purchase your customers will judge. A machine that matches your materials and finishes well, with settings you have already validated on your own stock, will outperform a higher-spec machine whose behavior on your wood was never tested.
Planning a wood engraving purchase? Tell us the species, finish, board thickness, and typical engraving size you work with. We can help you match a machine configuration to that profile and discuss sample testing before you commit.
Send your material and job details through our inquiry form to start the comparison.