
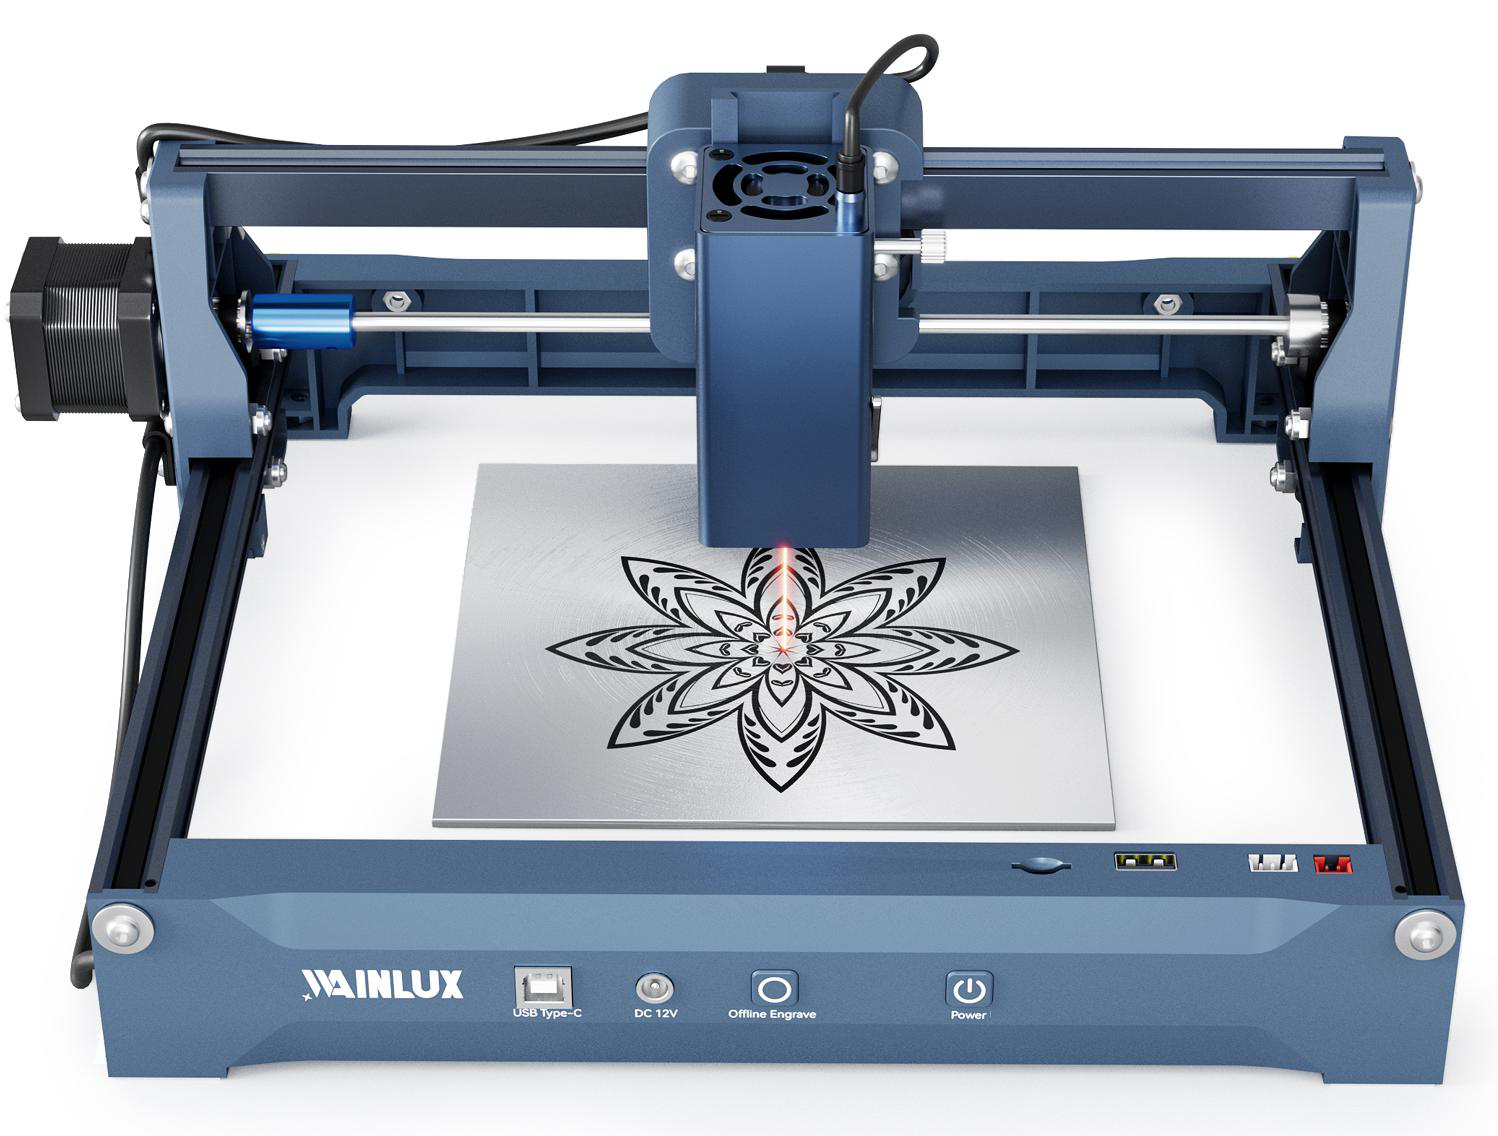
A practical guide for small wood-products businesses choosing a laser cutter: how single-pass cutting depth (3-5mm, 12mm, 15mm plywood) should follow your product line instead of advertised wattage, plus bed size for batch work and why air assist and honeycomb support decide cut quality.
Most small wood-products businesses buy their first laser cutter on wattage. The number they should be buying on is cutting depth in a single pass — because that number, not the wattage on the spec sheet, decides which products you can actually sell.
"Wood laser cutter for small business" is a low-volume search term, and that is exactly why it is worth writing for. The people typing it are not browsing; they are a small workshop, an Etsy-scale sign maker, or a gift producer with a product list in hand, trying to work out whether a machine will cut 12mm plywood or only 3mm. That is a B2B buying decision, and it rewards a straight answer over a catalogue of features.
Key takeaways
- Size the machine to your thickest single-pass product, not to the highest wattage you can afford.
- Diode-class machines split into clear tiers: 3-5mm plywood, 12mm plywood, and 15mm plywood in one pass.
- Bed size sets how many parts you cut per cycle — a small bed can be the real bottleneck for batch work.
- Air assist and honeycomb support decide whether the cut is clean or charred, especially on thicker stock.
- Wood density and moisture change results. Always cut a sample of your own material before committing.
In this article
- Start from your product line, not the wattage chart
- The three depth tiers and what each one lets you sell
- Bed size: the batch-work constraint
- Air assist and honeycomb support: what they change
- Wood density and moisture: why you must test your own stock
- How to run a sample test before you buy
- FAQ
Start from your product line, not the wattage chart
Write down the thickest piece of wood in your current or planned catalogue, in millimetres. Then ask one question: does this have to be cut in a single pass?
Single-pass cutting matters for a small business for two reasons. First, throughput — a job that needs three passes takes roughly three times as long, and on a batch of 50 parts that is a real labour cost. Second, edge quality — repeated passes on the same path mean more heat in the material, and more heat usually means darker, more brittle edges on plywood.
If your products are decorative 3mm plywood earrings, bookmarks, layered wall art, or engraved plaques, an entry machine at the 3-5mm tier is enough. If you make 12mm plywood signage, jigs, or furniture components, you need the tier above. If you cut 15mm plywood or 20mm pine in production, you are in the top tier and should not compromise on it.
The three depth tiers and what each one lets you sell
The table below maps published cutting capacity to real product categories. Treat it as a starting filter, not a guarantee — the wood-dependency caveat further down applies to every row.
| Depth tier (single pass) | Example machine | Work area | Typical product fit |
|---|---|---|---|
| 3-5mm plywood | WAINLUX K10-5W | 10 x 10 cm | Small engraved pieces, tags, fine detail work on thin stock |
| 12mm plywood, 15mm pine board | WAINLUX L8-20W (455nm, 20W) | 40 x 40 cm | Signage, layered panels, jigs, small furniture parts |
| 15mm plywood, 20mm pine board | WAINLUX L8-40W (40W) | 40 x 40 cm | Thick signage, structural components, higher-volume thick-stock work |
Tier 1: 3-5mm plywood
A fully enclosed machine like the WAINLUX K10-5W is aimed at thin-stock, high-detail work. The 10 x 10 cm bed tells you the product scale it was designed around: engraved tags, small shapes, detailed graphics. If your catalogue is thin-stock and gift-sized, this is the efficient entry point, and the enclosed housing suits a workshop where the machine sits near people or in a home-based studio. It is a complete product you can review here: WAINLUX K10-5W laser engraving machine.
Tier 2: 12mm plywood and 15mm pine
The draft-model WAINLUX L8-20W is the step where a workshop stops making novelties and starts making product. A 455nm 20W diode head, a 40 x 40 cm work area, and published single-pass capacity of 12mm plywood and 15mm pine board. It ships with an air pump and a honeycomb board — both matter, and both are explained below. Connectivity covers PC, Bluetooth app, and offline operation, and the machine includes tilt protection.
The jump from a 10 x 10 cm bed to 40 x 40 cm is more commercially significant than most first-time buyers expect. On the smaller bed you cut one small part per cycle; on 40 x 40 cm you nest a full sheet of small parts or a single large panel, which is what changes your output per hour.
Tier 3: 15mm plywood and 20mm pine
The WAINLUX L8-40W keeps the same 40 x 40 cm work area and raises the head to 40W, publishing single-pass capacity of 15mm plywood and 20mm pine board. Choose this tier only when your product line genuinely needs it. Thick stock cut in one pass requires the machine to clear material faster, and using an under-powered machine on thick stock is how small businesses end up with burnt edges and multi-pass workarounds that eat their margin.
Bed size: the batch-work constraint
Cutting depth decides what you can make. Bed size decides how many you can make per cycle, and for a small business selling repeatable products, this is often the number that sets your effective capacity.
Do the arithmetic on your actual part. If your product is a 6 x 6 cm coaster, a 40 x 40 cm bed lets you nest a grid of them in one run; a 10 x 10 cm bed fits a handful. Across a 200-piece order, that difference is the gap between a comfortable job and a long week.
Two practical notes on bed size:
- Material buying follows bed size. A 40 x 40 cm work area means you can use standard sheet offcuts rather than cutting stock down before it goes in.
- Jig design follows bed size. With a larger bed you can cut a reusable locating jig that holds parts in the same position across runs — the simplest way to keep repeat orders consistent.
Air assist and honeycomb support: what they change
Two accessories are frequently sold as extras and are in fact part of cut quality. The L8-20W ships with both.
Air assist
A compressed air stream directed at the cut point blows smoke and vapour away from the kerf and reduces the chance of flame developing on the surface. On thin stock the effect is subtle; on 12mm and 15mm plywood it is the difference between a usable edge and a charred, re-worked one. It is also what makes repeated production runs predictable rather than a matter of watching every cut.
Honeycomb support
A honeycomb bed raises the workpiece off a solid surface so smoke and heat can escape underneath. On a solid bed, the underside of the cut tends to scorch and the cut edge can pick up reflected heat. The honeycomb also gives you a flat reference plane, which matters when you are indexing parts for a second operation such as engraving.
If you price two machines that look otherwise similar, check what comes in the box. A machine with a pump and honeycomb board already included is not the same purchase as one where you buy them separately.
Wood density and moisture: why you must test your own stock
Published cutting depths are a starting point, and they are stated for a reason: they describe what the machine can do, not what every board in your workshop will do. Two pieces of "12mm plywood" are not identical. Species, glue content, number of plies, and moisture content all change how the material behaves under the beam. Denser stock and damp stock resist cutting more.
This is not a reason to distrust a specification. It is a reason to plan a sample test as part of your purchase, and to keep your production stock dry and consistent once you are running.
How to run a sample test before you buy
Ask the supplier to cut your material, and send the real thing — not a description. Work through it in this order:
- Send the thickest material in your catalogue, in the actual species and ply construction you buy, at the moisture level your workshop normally sees.
- Ask for a single-pass cut, and record whether it separates cleanly or needs a second pass.
- Check the cut edge for charring, discolouration, and whether the kerf is square or tapered.
- Measure the part against your drawing, since kerf width affects fit on any interlocking design.
- Repeat on a second piece of the same stock — one good cut can be luck; two consistent cuts are a process.
- If you buy, re-test on arrival with your own material before quoting a production deadline.
Matching a machine to your product line: a worked example
Suppose a small workshop sells two lines: engraved 3-4mm plywood ornaments, and 12mm plywood signs up to 30 cm long. The ornament line fits the entry tier. The sign line does not — it needs the 12mm tier and a bed larger than 10 x 10 cm to fit a 30 cm panel. Buying only the entry machine would mean outsourcing or dropping the sign line; buying only the 40W machine would spend money on 15mm capability the workshop does not currently sell.
That gap is the whole point of this article. The right answer is usually the lowest tier that clears your thickest product with a margin, plus the largest bed you can justify for batch work.
A note on where these machines come from
WAINLUX is a brand of Xiamen Spring Technology Co., Ltd., founded in 1998 and working in this field for more than 25 years. The company holds ISO9001 certification at company level and offers OEM/ODM services, with products exported to more than 50 countries. For a small business buying its first or second laser cutter, that track record is worth weighing alongside the specifications — particularly if you expect to place repeat orders or need a custom configuration.
FAQ
What cutting depth do I need for a small wood products business?
Match it to your thickest product. If everything you sell is 3-5mm plywood, the entry tier covers you. If you cut 12mm plywood, choose the 12mm tier. Move to 15mm plywood capability only when your catalogue requires it.
Is a 20W machine enough for a commercial workshop?
It depends entirely on thickness. A 20W head publishing 12mm plywood and 15mm pine single-pass capacity suits a workshop making signage, jigs, and panel work. If your products need 15mm plywood or 20mm pine in one pass, look at the 40W tier instead.
Why does bed size matter more than I expected?
Bed size controls how many parts you cut per cycle and whether you need to pre-cut material. A 10 x 10 cm area suits small engraved pieces; 40 x 40 cm lets you nest a batch or fit a large panel without re-cutting stock.
Do I really need air assist and a honeycomb bed?
For clean cuts on thicker stock, yes. Air assist clears smoke and reduces surface flaming, and the honeycomb lifts the workpiece so the underside does not scorch. The L8-20W ships with both an air pump and a honeycomb board.
Can I rely on the published cutting depth for my plywood?
Use it as a starting point. Density, ply construction, and moisture content all affect results, so test your own material with the supplier before committing to a production schedule.
What should I send for a cutting sample test?
The thickest material in your catalogue, in your actual species and ply construction, at your normal moisture level — and ask for a single-pass cut so you can inspect the edge quality yourself.
Next step
Write down your two numbers: the thickest single-pass cut your product line needs, and the longest or largest panel you need to fit on the bed. Those two numbers narrow the choice to one tier. Then ask for a sample cut on your own stock before you place the order — that test, not the wattage figure, is what tells you whether the machine fits your business.