
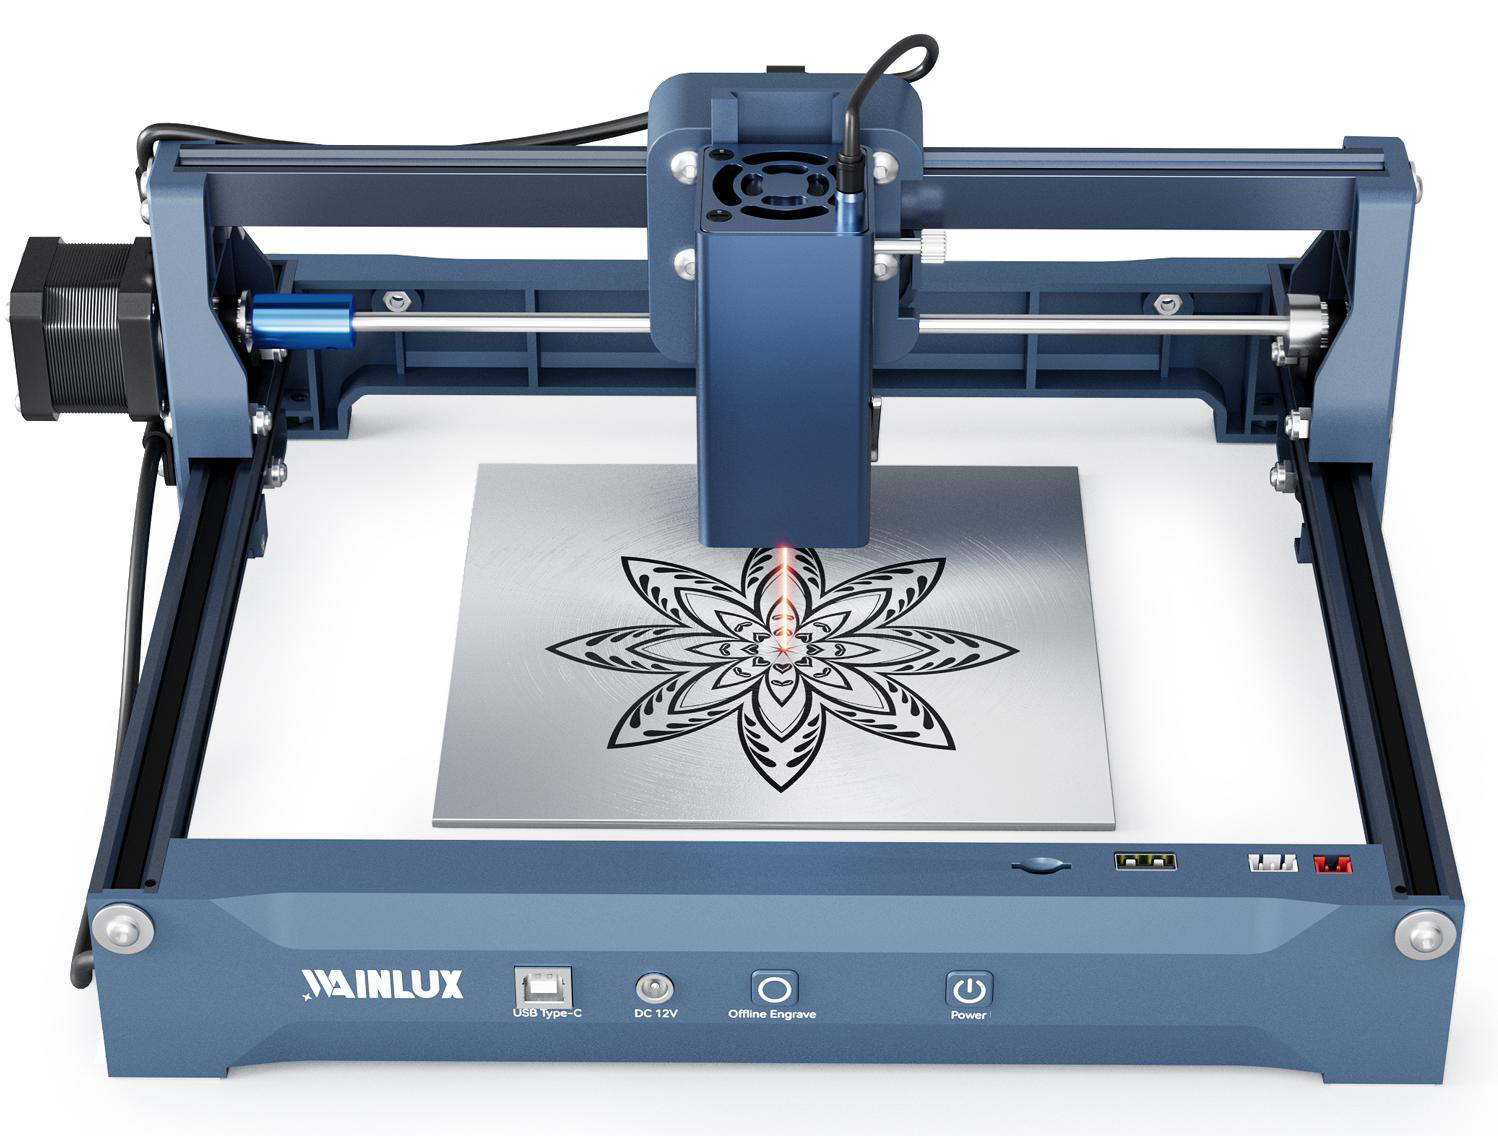
A first-week learning path for anyone who just bought a beginner laser engraver. Focus, test grids, ventilation, eye protection, and a checklist to follow before you spend money on upgrades.
What You Actually Need in Week One
A beginner laser engraver is not a printer. It is a moving light source you point at a material for a set amount of time. Everything difficult about wood engraving comes back to that one sentence: where the light lands, how tight the spot is, how much power it carries, and how fast it moves. Before you buy a rotary attachment, an air assist, or a bigger work area, learn the six things below. They decide whether your first ten pieces look intentional or burned.
- Set focus before every material change.
- Build one test grid per material instead of guessing settings.
- Ventilation and eye protection are not optional accessories.
- Small machines engrave many materials but do not cut thick stock or bare metal.
- Spend on materials, not upgrades, for the first two weeks.
Understand What a Beginner Laser Engraver Can and Cannot Do
Diode laser machines in the 3W to 5W range are engraving tools first. They mark surfaces and, with the right material and enough power, cut thin sheet. Get this distinction right on day one and you will avoid most beginner frustration.
The WAINLUX XN001-3W uses a 3W 455nm blue diode with a 9.8 x 8.8 cm working area. It is foldable, can run from a power bank, and supports USB or Bluetooth control through an app as well as an offline button. It engraves wood, bamboo, acrylic, leather, plastic, ceramic, painted metal, and glass. It is not intended for cutting thick material or engraving bare metal.
The WAINLUX K10-5W steps up to 5W and a 10 x 10 cm area, comes in an enclosed housing, and can cut 3 to 5 mm plywood. If your plan includes cutting small shapes out of thin wood, this is the more suitable starting point. Both are genuine beginner machines; neither is a production cutter.
| What you want to do | Realistic on a 3W / 5W diode machine? |
|---|---|
| Burn a logo or text into wood | Yes |
| Engrave leather, bamboo, painted metal, glass, ceramic | Yes |
| Cut 3-5 mm plywood | Yes, on a 5W machine such as the K10-5W |
| Engrave bare metal | No |
| Cut thick hardwood or acrylic sheets | No |
Learn Focus and Focal Distance First
Focus is the single skill that separates a clean engraving from a fuzzy gray smear. The laser beam is narrowest at one specific distance from the lens, called the focal distance. Move the workpiece closer or farther and the spot widens, which spreads the same energy over a larger area. The result is lighter, blurrier, less controlled output.
Every time you change material, or change the thickness of the same material, re-check focus. A 2 mm difference in wood thickness is enough to visibly change the result. Practice on a scrap piece: engrave the same small square at three different focus heights and compare the edge sharpness. You will recognize good focus by eye within an hour.
Build a Material Test Grid Before You Design Anything
Do not start with a finished design. Start with a grid. A test grid is a small array on one piece of scrap where you vary power and speed in controlled steps, then look at the results.
- Cut or select one scrap piece of the exact wood you plan to use. Different species behave differently.
- Prepare a grid of identical small squares, one variable per row or column.
- Engrave the grid with increasing power or decreasing speed across the array.
- Label the piece with a marker so you remember which square used which values.
- Keep the labeled test piece next to the machine as your reference.
This habit does more for your output quality than any accessory. Wood grain, moisture, and surface finish all change how a material responds, so a test grid you made for pine may not transfer directly to walnut. The grid is a method, not a fixed list of settings.
Set Up Ventilation and Eye Protection
Engraving wood produces smoke and fine particulate. Even a small desktop machine needs airflow away from the operator. Place the machine near a window, use an exhaust fan or an enclosure that vents outdoors, and never engrave in a closed bedroom or unventilated closet. Smoke also deposits on the lens and the workpiece, which degrades quality over time, so clearing it is a quality step as much as a safety one.
Laser light at 455 nm is bright and can damage eyes. Never look directly at the beam or at the reflection from a shiny surface. Keep the enclosure closed during operation where the machine has one, wear appropriate laser safety glasses rated for the wavelength, and keep the work area free of reflective metal objects that could bounce light unpredictably.
Practice Workholding and Positioning
A workpiece that shifts by one millimeter during a job ruins the whole piece. Learn to fix material flat and square before you engrave. On small machines with a 9.8 x 8.8 cm or 10 x 10 cm area, positioning matters because there is little margin for error in the layout.
Do a dry run with the laser power at zero, or with the beam off, to watch the machine trace the path and confirm the design sits where you want it. Confirm the workpiece cannot move, then run the job.
Learn One Material Deeply Before Adding More
Beginners often buy acrylic, leather, ceramic, and glass in the first week, then struggle with all of them. Wood is forgiving and gives clear visual feedback, so it is the right first material. Once you can reliably produce a clean burn on one wood type, add a second. The XN001-3W engraves acrylic, leather, plastic, ceramic, painted metal, and glass as well, but each material has its own behavior and its own test grid.
A Checklist Before You Buy Any Upgrade
Work through this list and only then consider spending more. Each item costs nothing but practice time.
- I can set and verify focus for at least two material thicknesses.
- I have labeled test grids for the materials I use most.
- My machine vents smoke away from the operator.
- I wear wavelength-appropriate eye protection.
- I have finished five pieces without a workpiece shifting.
- I know whether my work needs cutting or only engraving.
If cutting thin plywood is on that list, upgrade the machine, not the accessories. If it is not, your current engraver is probably enough for months.
Frequently Asked Questions
Can a 3W laser engrave wood?
Yes. A 3W 455 nm diode like the one in the XN001-3W engraves wood, bamboo, and several other materials. It is not designed for cutting thick wood or engraving bare metal.
Do I need a more powerful machine to start?
Only if you intend to cut thin sheet such as 3-5 mm plywood, which the K10-5W can do. For engraving, learn the basics on a small machine first.
Is ventilation really necessary for a small desktop laser?
Yes. Engraving wood produces smoke and particulate regardless of machine size, and it also dirties the lens and reduces engraving quality.
How long does it take to get usable results?
Most beginners who build a test grid and check focus on the first day produce clean sample engravings within a few sessions. Speed depends on how much material you test.
Where These Machines Come From
Both machines are made by Xiamen Spring Technology Co., Ltd., a company founded in 1998 with 25 years of operation, ISO9001 at company level, OEM/ODM capability, and exports to more than 50 countries. You can review the specifications directly: WAINLUX XN001-3W laser engraving machine and WAINLUX K10-5W laser engraving machine.
Start with the six skills above. They are free, they apply to every laser you will ever own, and they will tell you honestly whether you need a second machine or just more practice.